Bug Bounty Hunting: How to Start with Recon
These days, everyone in cybersecurity seems eager to dive into bug bounty hunting, hoping to find vulnerabilities and earn bounties. It’s hard not to feel tempted, especially when you see LinkedIn posts where security researchers boast about finding multiple bugs in a single day. You may be wondering how to get started yourself. Maybe you’ve already tried testing web applications and found minor vulnerabilities like information disclosures, but after reporting them, you realize they don’t carry much impact. It can feel like you’re wasting your time.
The frustration sets in—you’re investing a lot of hours but not seeing any significant results. You’re committed to finding bugs but unsure of the right approach, lacking a solid methodology or step-by-step process. And even when you do stumble upon something suspicious, you’re not quite sure how to proceed.
This is where we step in. Welcome to the first in a series of articles designed to guide you through each phase of bug bounty hunting, from start to finish. In this series, you’ll learn the methodology needed to effectively find bugs and conduct penetration testing. We’ll start with one of the most important, yet often overlooked, steps: Reconnaissance (Recon).

The Importance of Recon
Recon is frequently underestimated in both bug bounty hunting and penetration testing. Many people skip it entirely, rushing into testing without a clear plan, only to realize later that they’ve wasted days on a target without making progress. Recon is crucial—it’s like planning your strategy before heading into battle. Without it, you’re likely to miss key details, which can leave you struggling to find anything meaningful. Too many people make this mistake, and it’s a major reason why many feel stuck in their bug hunting efforts.
Enough talk let’s get to work.
Choosing a Target
For this example, let’s say we’re going to test a well-known site: yahoo.com. Your first instinct might be to head straight to the main domain and start testing—don’t! This is a common misstep, especially for beginners. Testing major domains right out of the gate can lead to frustration. Instead, focus on subdomains, especially those that might not have been scrutinized as closely. But how do you find these lesser-known subdomains? And before we proceed, make sure you’ve got a Bug Bounty Checklist handy, which you can find on GitHub. We’ll refer to it later.
Now, let’s get into the methods you can use to uncover those elusive subdomains.
Methods for Finding Subdomains
1. DNS Zone Transfer
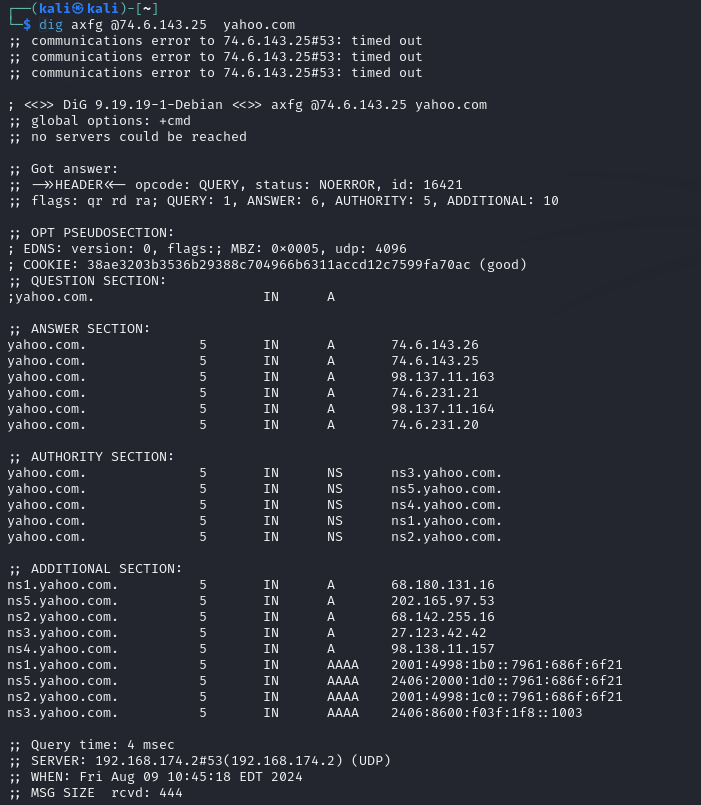
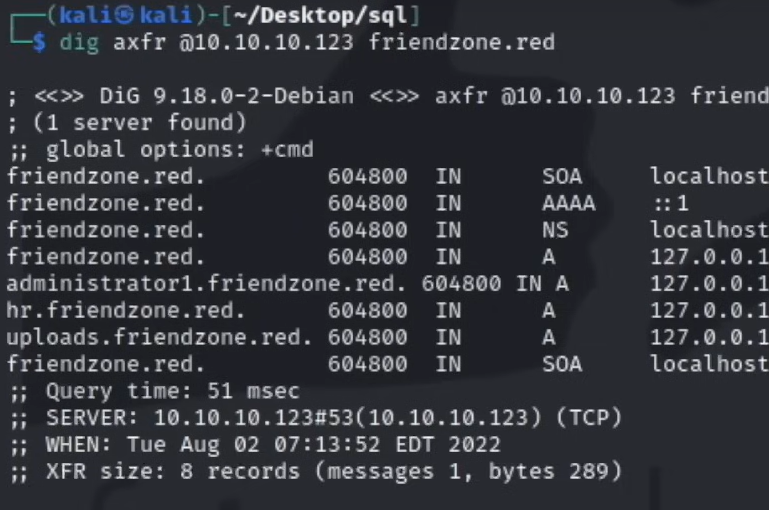
One of the quickest ways to find subdomains is through DNS zone transfers. Unfortunately, this method didn’t yield results for Yahoo in our case, but here’s how you would typically approach it.
2. The Harvester
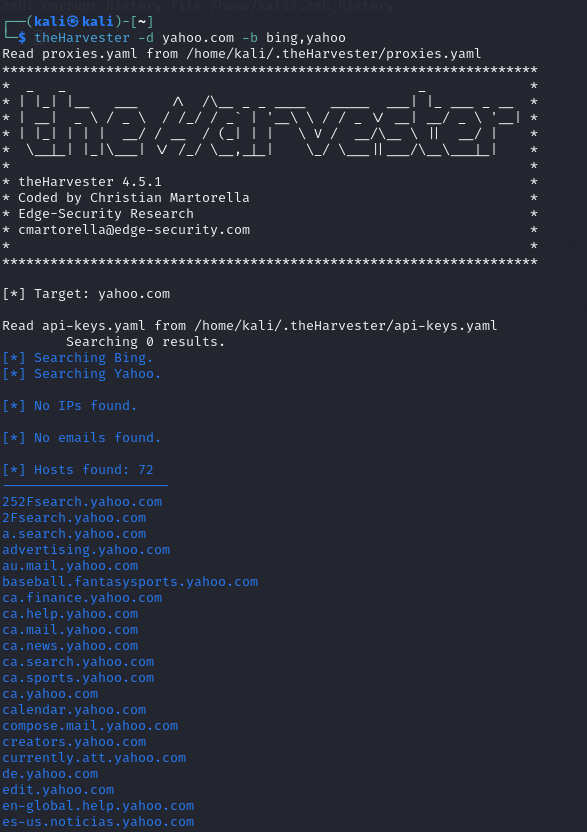
The Harvester is another excellent tool for discovering subdomains and emails associated with a target. It’s simple yet effective.
3. AMASS
Another powerful tool is AMASS. You can use it with the following command to enumerate subdomains:
amass enum -d yahoo.com
4. crt.sh

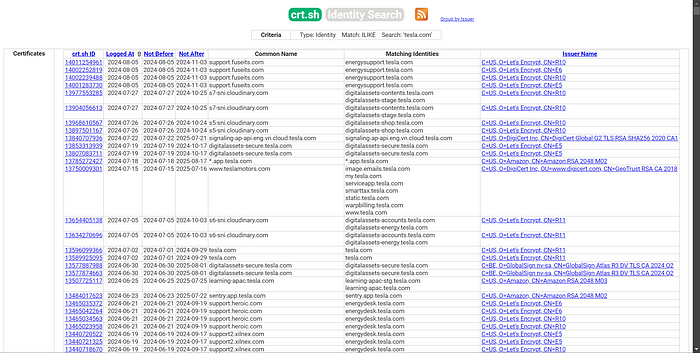
If the above methods don’t work, crt.sh is a great fallback. It provides subdomains based on certificate transparency logs, which can often reveal domains that are otherwise hidden.
5. Wayback Machine (The Ultimate Method)
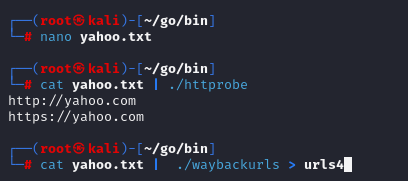
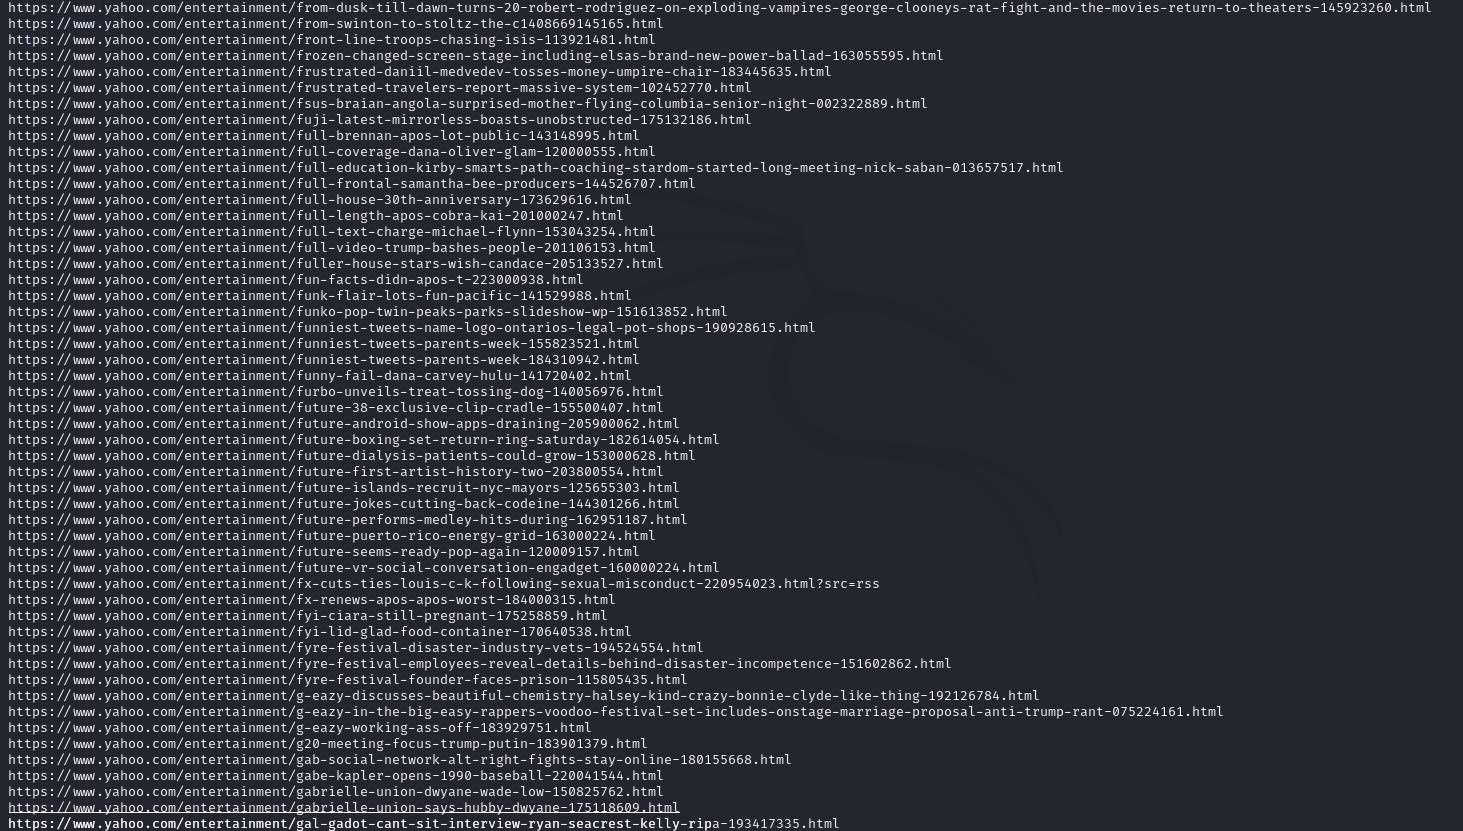
Finally, the most advanced and arguably the most effective method is using the Wayback Machine to find subdomains that were registered years ago. Many of these old subdomains might still be live but have been forgotten by developers, making them potential goldmines for vulnerabilities.
Here’s how you can leverage the Wayback Machine to find subdomains that may still be active:
First, ensure you have Go installed on your Kali Linux:
apt-get install go
Then, install two key tools: waybackurls and httprobe.
Once you’ve gathered a list of domains and subdomains, save them into a file (e.g., yahoo.txt). Now run the following command to collect all the historical URLs for those domains:
cat yahoo.txt | ./waybackurls > urls
This will save all the URLs retrieved from the Wayback Machine into a file called urls. The next step is to check which of these URLs are still live. To do this, run the following:
cat urls | httprobe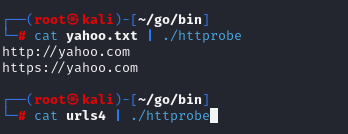
This will filter out the live URLs from the historical data, allowing you to focus on subdomains that are still active. From there, you can decide which ones to add to your scope for further testing.
That’s it for now. Until then, keep hunting and stay sharp!


